So you’ve decided to embark on a new adventure: creating an isopod terrarium! Whether you’re a seasoned terrarium enthusiast or a curious beginner, this step-by-step guide will provide you with all the information you need to create a thriving and captivating isopod habitat. From selecting the perfect enclosure to choosing the ideal plants and substrates, we’ll walk you through every stage of the process to ensure that your isopods feel right at home in their new domain. Get ready to unleash your creativity and discover the joy of cultivating a miniature ecosystem that’s both fascinating and low-maintenance. Let’s dive into the world of isopod terrariums and get started on this exciting journey together!
Choosing and Preparing the Terrarium
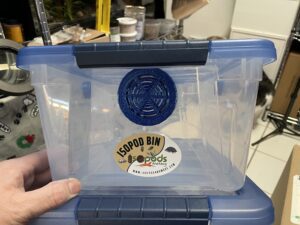
Selecting the Right Container
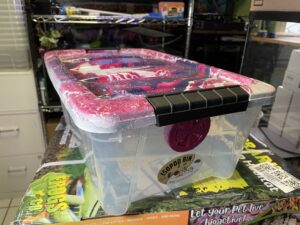
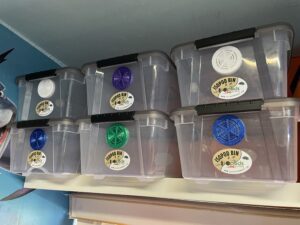
When it comes to choosing a container for your isopod terrarium, there are a few things to consider. Firstly, the size of the container should be appropriate for the number of isopods you plan to keep. It should allow them ample space to move around and explore. Secondly, the container should have a secure lid or cover to prevent any potential escapes. Lastly, opt for a transparent container as it allows you to observe your isopods easily.
Cleaning the Terrarium
Before setting up your isopod terrarium, it’s essential to clean the container thoroughly. Use a mild soap or dish detergent to wash the container, ensuring that you rinse it well afterward to remove any residue. Avoid using any harsh chemicals or cleaners that could be harmful to your isopods. Once cleaned, allow the container to dry completely before proceeding to the next step.
Creating Drainage Holes
Creating proper drainage in your isopod terrarium is crucial to prevent waterlogged conditions. Using a drill or a heated nail, carefully create small drainage holes at the bottom of the container. These holes will allow excess water to escape, preventing the substrate from becoming oversaturated. Make sure the holes are evenly spaced and avoid making them too large, as this could result in the substrate falling through.
Adding a Layer of Gravel
To further aid in drainage, add a layer of gravel to the bottom of the terrarium. This layer will provide space for excess water to collect and prevent it from saturating the substrate. Spread a thin layer of gravel evenly across the bottom, ensuring that it covers the drainage holes. The gravel layer also adds visual appeal to your terrarium, giving it a more natural and aesthetically pleasing look.
Creating the Substrate
Choosing the Substrate Material
The substrate is the foundation of your isopod terrarium, providing moisture, structure, and a natural environment for the isopods. There are various substrate materials you can choose from, such as coconut fiber, sphagnum moss, or a mixture of peat moss and soil. Consider the specific needs of your isopod species when selecting the substrate material. Research their natural habitat to replicate it as accurately as possible.
Moistening the Substrate
Once you have chosen the substrate material, it’s time to moisten it to create the ideal humidity level for your isopods. Add water to the substrate gradually, using a spray bottle or misting it with a fine mist until it reaches a damp consistency. Be careful not to oversaturate the substrate, as it should be moist but not dripping wet. This step is essential in creating a suitable environment for your isopods.
Mixing the Substrate Components
If you have opted for a blend of different substrate materials, it’s important to mix them thoroughly. This ensures that the substrate is well-balanced in terms of moisture retention, aeration, and nutrient content. Use your hands or a large spoon to blend the substrate components together, ensuring that they are evenly distributed throughout. Take your time with this step to ensure a well-mixed and consistent substrate.
Adding Organic Matter
Isopods are detritivores, meaning they feed on decaying organic matter. To create a natural and enriching environment for your isopods, consider adding some organic matter to the substrate. This could include dried leaves, bark, or pieces of decaying wood. These additions not only provide a food source for your isopods but also contribute to the overall aesthetics of the terrarium. Just make sure the organic matter is free from pesticides or chemicals.
Adding Decorations
Selecting Safe Decorative Elements
When choosing decorations for your isopod terrarium, prioritize safety for your isopods. Avoid using any materials that could be toxic or harmful to them, such as sharp or metallic objects. Instead, opt for natural materials like rocks, driftwood, or pieces of cork bark. These decorations not only create a visually appealing environment but also provide additional hiding spots and climbing structures for your isopods.
Creating Hiding Spots
Isopods are nocturnal creatures that appreciate dark and secluded hiding spots. Consider adding some hollowed-out logs, small caves, or pieces of PVC pipe to create hiding spots within your terrarium. These areas will give your isopods a sense of security and allow them to retreat when they feel stressed or threatened. Ensure that the hiding spots are easily accessible and large enough to comfortably accommodate your isopods.
Adding Climbing Structures
Isopods love to explore and climb on various surfaces, so adding climbing structures can enhance their environment. You can incorporate pieces of driftwood, cork bark, or smooth stones to create vertical surfaces for your isopods to scale. These structures not only serve as a form of exercise and enrichment for your isopods but also provide visual interest and diversity to your terrarium.
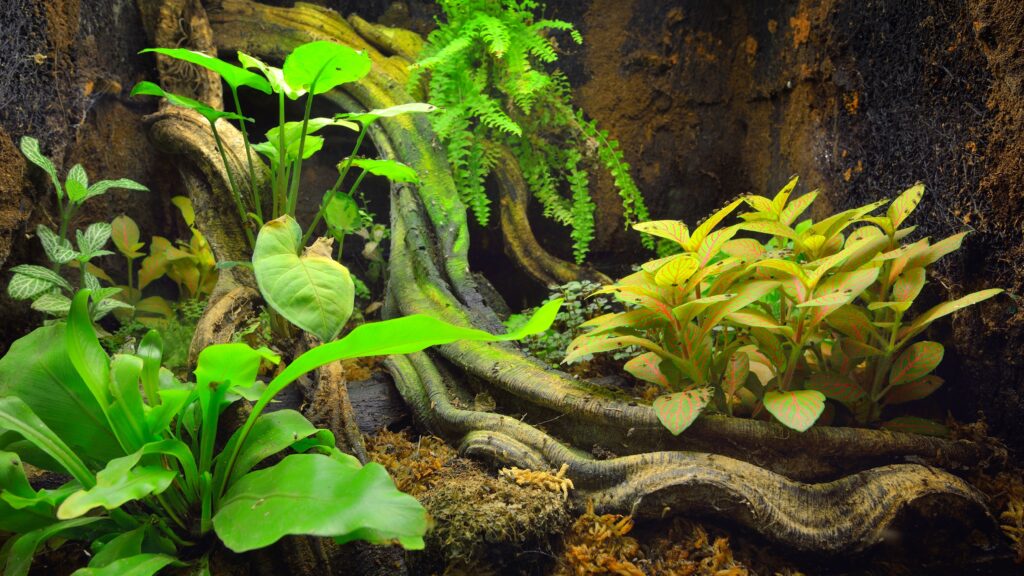
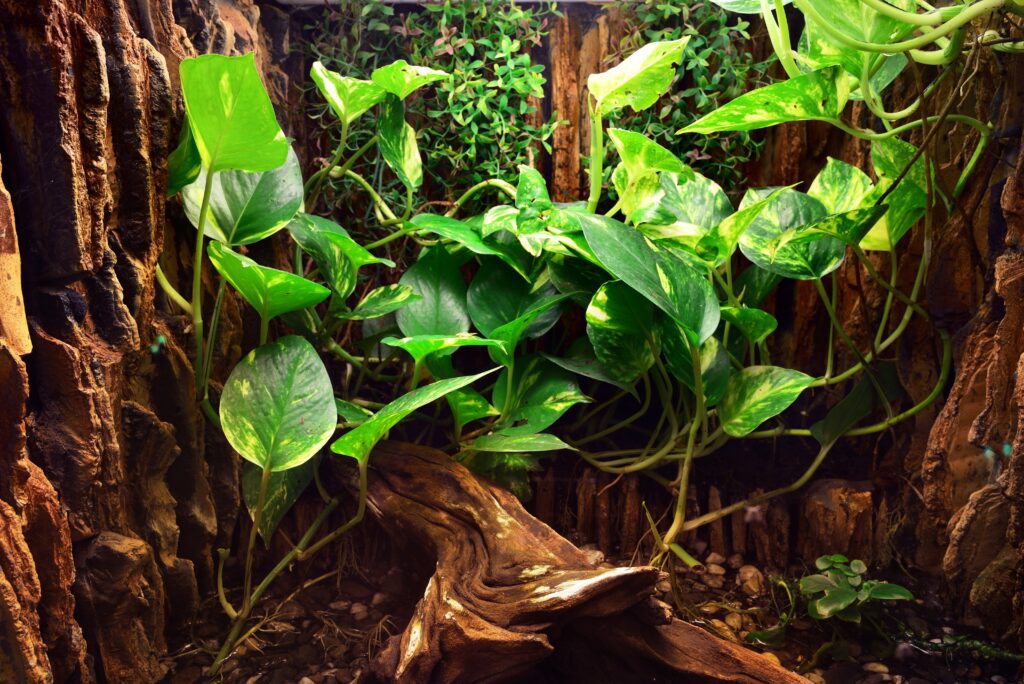
Including Live Plants
Live plants not only add beauty to your isopod terrarium but also provide numerous benefits for your isopods. They help maintain proper humidity levels, improve air quality by reducing carbon dioxide, and add a natural touch to the overall aesthetics. Choose plant species that thrive in the conditions you’ve created and are safe for isopods. Some common choices include mosses, ferns, and small leafy plants. Ensure the plants receive adequate light and water as per their requirements.
Providing the Right Environment
Controlling Temperature and Humidity
Maintaining the correct temperature and humidity is crucial for the well-being of your isopods. Isopods prefer a temperature range between 70 to 80 degrees Fahrenheit (21 to 27 degrees Celsius). Use a thermometer to monitor the temperature regularly and make adjustments if necessary. Additionally, monitor and maintain a humidity level between 70% to 80% to mimic their natural habitat. Use a hygrometer to measure humidity accurately and adjust as required.
Setting Up Proper Lighting
While isopods do not require intense lighting, providing a suitable light source is still essential. Choose a light that emits a gentle, diffused glow to mimic natural daylight. This can be achieved using full-spectrum LED lights or low-wattage fluorescent bulbs. Avoid placing the light source directly above the terrarium, as this can create localized heat or excess brightness. Instead, position the light slightly off-center to provide a more natural lighting condition.
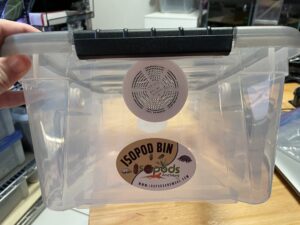
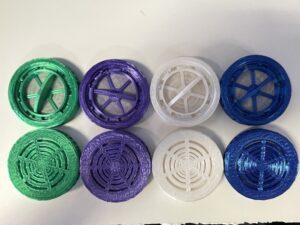
Maintaining Ventilation
Proper ventilation is crucial to prevent the buildup of stagnant air and excess moisture in the terrarium. Ensure that your terrarium has adequate airflow by providing ventilation holes, either on the sides or the lid of the container. These holes allow for the exchange of fresh air and help regulate humidity levels. However, be cautious not to create large openings that may allow for the escape of your isopods.

Monitoring and Adjusting the Environment
Regularly monitor the temperature, humidity, and lighting conditions within your isopod terrarium. Make adjustments as needed to ensure the environment remains optimal for your isopods. Keep a record of any changes or observations you make to assist in maintaining a stable and healthy habitat for your isopods. By staying vigilant and attentive to their needs, you can create a thriving environment for your little isopod friends.
Introducing Isopods
Choosing the Right Isopod Species
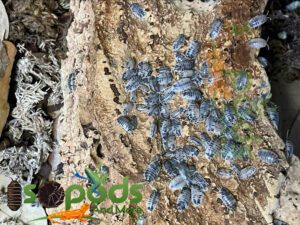
Isopods come in various species, each with its own unique characteristics and care requirements. Research different species to find the one that best suits your preferences and the conditions of your terrarium. Common isopod species for terrariums include Armadillidiidae (pill bugs), Porcellionidae, and Cubaris species. Consider factors such as size, coloration, and behavior when selecting the right isopod species for your terrarium.
Acquiring Isopods
Once you have decided on the species of isopods you want to keep, you will need to acquire them. Isopods can typically be purchased from pet stores, specialized insect breeders, or online suppliers. Ensure that the source you choose has a good reputation for providing healthy and well-cared-for isopods. If possible, opt for captive-bred isopods, as they tend to adapt better to terrarium environments than wild-caught ones.
Introducing Isopods to the Terrarium
Before introducing your isopods to their new home, ensure that the terrarium’s conditions are stable and suitable for their specific needs. Gently place the isopods into the terrarium, ideally near a moist area or hiding spot. Avoid overcrowding the terrarium, as this can lead to stress and competition among the isopods. Let them acclimate to their new environment and observe their behavior for the first few days to ensure they are adjusting well.
Optimizing Population Size
Maintaining an optimal population size is crucial for the well-being and longevity of your isopods. Overcrowding can lead to stress, aggression, and increased competition for resources. On the other hand, keeping too few isopods may hinder breeding and result in a declining population. Adjust the population size as needed, balancing the number of isopods with the available space and resources in your terrarium.
Feeding and Watering
Understanding Isopod Diets
Isopods are detritivores, meaning they primarily feed on decaying organic matter. In the wild, they play a vital role in breaking down dead plant material and recycling nutrients back into the ecosystem. To mimic their natural diet, offer a variety of organic materials in your terrarium, such as leaf litter, decaying wood, and fruits or vegetables. Additionally, provide occasional high-quality protein sources like fish food flakes or crushed dry cat food.
Providing a Balanced Diet
While isopods can survive on a primarily vegetarian diet, it’s essential to offer a balanced and nutritious diet for their overall health. Ensure that the organic materials you provide are free from pesticides or chemical treatments. Rotate the food sources regularly to offer variety and ensure a diverse nutrient intake. Observe the isopods’ feeding behavior to determine their preferences and adjust their diet accordingly.
Feeding Frequency and Amounts
Isopods have a slow metabolic rate, and overfeeding can lead to excess waste and potential mold or bacterial growth in the terrarium. Feed your isopods in small quantities, offering only what they can consume in a few days. As a general guideline, provide fresh food every three to five days and remove any uneaten food promptly. This approach helps maintain a clean and hygienic terrarium environment.
Providing Water Sources
Isopods require access to a source of fresh water to maintain hydration. There are various ways to provide water in your terrarium, such as using a shallow dish with a sponge or using moistened terracotta pots placed inside. Ensure that the water source is easily accessible and does not pose a drowning risk for the isopods. Regularly check and replenish the water source as needed to keep it clean and available.
Maintaining the Terrarium
Regular Cleaning Schedule
To keep your isopod terrarium clean and in optimal condition, establish a regular cleaning schedule. This schedule should include removing any decaying organic matter, spot cleaning any waste, and monitoring the overall cleanliness of the substrate and decorations. Aim to clean the terrarium at least once a month, but adjust the frequency based on the size of your terrarium and the number of isopods you have.
Removing Decaying Matter
Decaying organic matter serves as a food source for isopods but can also produce excess moisture and unpleasant odors if left unchecked. Regularly remove any visibly decaying leaves, fruits, or vegetables from the terrarium. This helps maintain a clean and odor-free environment, preventing the buildup of harmful bacteria or mold.
Monitoring and Managing Waste
Isopods produce waste as part of their natural bodily functions. Although they play a role in decomposing organic matter, excess waste can accumulate and affect the terrarium’s cleanliness and overall health. Regularly inspect the terrarium for any waste spots and remove them promptly using a spot cleaning method. This helps minimize the risk of unpleasant odors and maintains a favorable environment for your isopods.
Maintaining Optimal Conditions
Regularly check and adjust the conditions in your isopod terrarium to ensure they remain optimal for the isopods. Monitor the temperature, humidity, lighting, and ventilation regularly, making any necessary adjustments. Observe your isopods’ behavior and assess their overall well-being. By maintaining optimal conditions, you help create a healthy and thriving environment for your isopods.
Handling and Care
Understanding Isopod Behavior
Understanding the behavior of your isopods is vital when handling and caring for them. Isopods are generally calm and non-aggressive creatures, but they can move quite quickly if startled. They tend to burrow and hide during the day, becoming more active during the night. Observing their behavior will help you anticipate their reactions and ensure their well-being during handling or any other interactions.
Handling Isopods Properly
While isopods are generally tolerant of gentle handling, it’s important to handle them with care and avoid any sudden movements. To handle an isopod, gently cup it in your hand, ensuring that you provide support for its body. Avoid squeezing or applying excessive pressure, as this can harm the isopod. If you are new to handling isopods, it’s best to practice with a calm and experienced individual before handling others.
Avoiding Harmful Practices
When caring for your isopods, it’s important to avoid any harmful practices that could compromise their well-being. This includes refraining from using any chemicals or pesticides in or near the terrarium, as they can be toxic to isopods. Additionally, do not introduce any non-compatible species into the terrarium, as they may cause harm or disrupt the balanced ecosystem. By following safe and responsible practices, you can ensure the health and longevity of your isopods.
Recognizing Common Issues
Despite your best efforts, issues may arise when caring for your isopods. Being able to recognize common problems is crucial in addressing them promptly. These issues may include signs of stress, abnormal behavior, molting problems, or bacterial or fungal infections. Regularly observe your isopods and educate yourself on the signs of potential issues, seeking appropriate advice or veterinary assistance if necessary.
Breeding Isopods
Creating Optimal Breeding Conditions
If you are interested in breeding isopods, creating optimal breeding conditions is essential. This includes maintaining stable temperature and humidity levels, providing adequate hiding spots and climbing structures, and offering a well-balanced diet. Additionally, ensure that you have both male and female isopods of the chosen species and that they have reached sexual maturity before attempting breeding.
Recognizing Breeding Behavior
Isopods exhibit specific behaviors during their breeding process that you should observe. These behaviors may include males chasing or courting females, mating rituals, or the presence of eggs or brooding females. Pay attention to these behaviors and, if possible, provide suitable conditions to encourage and support successful breeding.
Separating Mating Pairs
Once mating occurs, it’s often beneficial to separate the mating pairs from the rest of the isopods. This allows the pregnant females to have a safe and secluded area to brood and protect their offspring. Gently transfer the pregnant females to a separate enclosure with suitable conditions and an appropriate substrate for the offspring to thrive.
Caring for Young Isopods
Once the isopod offspring hatch, they will require specific care and attention to ensure their survival. Ensure that the enclosure for the young isopods is well-maintained, with suitable substrate, humidity, and temperature. Provide a varied and nutrient-rich diet to support their growth and development. Regularly monitor and record their progress, making any necessary adjustments to ensure their well-being.
Expand and Enhance the Terrarium
Increasing Terrarium Size
As your isopod population grows, you may find it necessary to increase the size of their habitat. This allows them more space to explore and thrive. Consider upgrading to a larger container or adding an expansion module to accommodate their growing needs. Ensure that the new space maintains the same conditions as the original terrarium to provide a seamless transition for the isopods.
Adding Additional Decorations
To provide enrichment and diversity to your isopod terrarium, consider adding additional decorations. This could include more hiding spots, different types of climbing structures, or new plant species. These additions enhance the overall aesthetics of the terrarium and offer new opportunities for exploration and stimulation for your isopods.
Introducing Other Compatible Species
Depending on the size and compatibility of your isopod species, you may consider introducing other compatible species to the terrarium. This can create a more diverse and dynamic ecosystem within the terrarium. Research and choose species that have similar temperature, humidity, and dietary requirements. Ensure that they do not pose any risks to your existing isopod population.
Simplifying Maintenance Processes
Maintaining a clean and healthy terrarium can sometimes be time-consuming. To simplify the maintenance processes, consider incorporating strategies such as automation or establishing a routine. Use tools like automatic misters or self-regulating heating systems to assist in maintaining optimal conditions. Additionally, establish a regular schedule for cleaning, feeding, and monitoring, ensuring you stay consistent and proactive in your terrarium care.
In conclusion, creating and maintaining an isopod terrarium involves several essential steps and considerations. By selecting the right container, preparing the substrate, adding decorations, providing the right environment, introducing isopods, and implementing proper care practices, you can create a thriving and enjoyable habitat for your isopods. Remember to continuously monitor and adjust the terrarium’s conditions to ensure the well-being of your isopods and expand and enhance their environment as they thrive. With proper care, your isopod terrarium will provide endless fascination and enjoyment for both you and your isopod friends.